Btw, this is not for the novice sewer! Though it is quite easy to sew the coat, pinning it is not and you cannot rectify mistakes.
 First find a coat pattern you are familiar with to use. I took the pattern for this coat which I already made twice. It's very important to take a pattern you know because you do not want to make a mistake while making a raincoat. It leaves a nice row of holes which do not vanish as you can see in the picture below and you want to keep the amount of holes to a minimum in a raincoat! Also, when choosing your pattern, try to keep the pieces it consists of to a minimum and no tiers. The fabric is very sturdy so it doesn't hang down the way other fabric
does. This is especially important to note when you're thinking about
making a tiered bottom like me. THAT DOES NOT WORK!! It will look weird,
trust me I tried it! To make a skirt like bottom for your coat, just
take one piece of fabric and make flat pleats. Because the fabric is so
sturdy it will poof out with just a few.
First find a coat pattern you are familiar with to use. I took the pattern for this coat which I already made twice. It's very important to take a pattern you know because you do not want to make a mistake while making a raincoat. It leaves a nice row of holes which do not vanish as you can see in the picture below and you want to keep the amount of holes to a minimum in a raincoat! Also, when choosing your pattern, try to keep the pieces it consists of to a minimum and no tiers. The fabric is very sturdy so it doesn't hang down the way other fabric
does. This is especially important to note when you're thinking about
making a tiered bottom like me. THAT DOES NOT WORK!! It will look weird,
trust me I tried it! To make a skirt like bottom for your coat, just
take one piece of fabric and make flat pleats. Because the fabric is so
sturdy it will poof out with just a few.
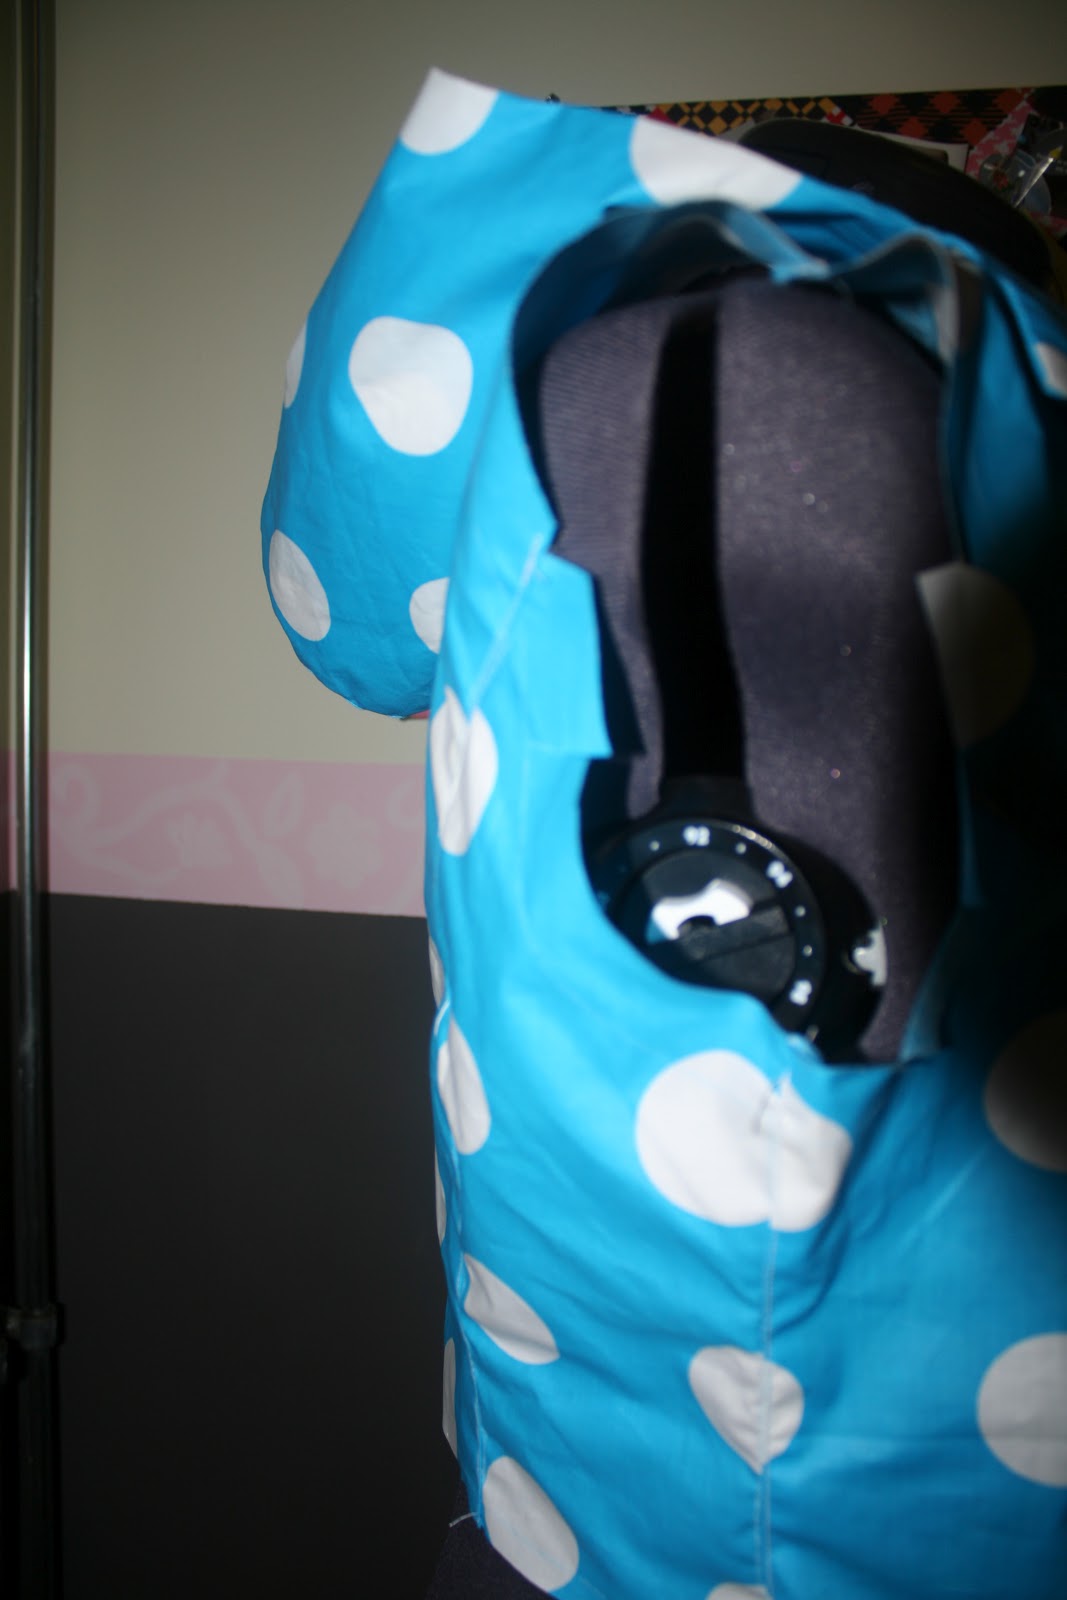
I would recommend a coat pattern which contains a hood (obviously), mine didn't so I added one myself. As I wasn't quite sure what I was doing I ended up getting this nice row of holes right under the hood, oops.

Second, find the thinnest needle you are comfortable using and some polyester thread. To me it seemed logical that the raincoat would be most watertight (watertighter..?) if I kept the thread holes tiny. You need polyester thread because it repels water, so no cotton! Because that will soak up the water and pull it through those tiny holes. I tested this first (so you don't have to ;)) and the picture proves it works! (amazing my own ideas actually turned out right ha!)

- Make some tea and get some cookies, making a raincoat can be horribly frustrating (though not super hard) so you need some comfort food near you. Not too near though, you don't want to test the watertightness (?? these are not the right words hahaha) of your coat with tea.
- Get acquainted with your pattern. Know what your doing, it's very important.
- Always keep in mind that every hole you make in your coat is there to stay. This means that I do not recommend putting ornamental stitching on your coat or any amount of stitching that is not absolutely necessary.
- Use a short stitch so everything is stitched strongly together with the least amount of space in between when you open up seams.
So are you ready to start?
Place your pattern on your fabric and scotch-tape it on there. DO NOT PIN IT because that will leave holes where you do not want them. Trace your pattern and measure on the seams. Now pin around your patterns within the seams. This way you don't have to cut out all the pieces separately but you can fold the fabric.

Now you can sew the coat together as you're used to doing. You do not need any extra stuff to seal the seams. There is rubber tape you can tape over all the seams, but I didn't and my coat works fine. Do remember that you can only pin on the seams, not anywhere else!
 To make the seams extra sturdy but not have a row of stitches on the outside of the coat, I double stitched all seams like you can see in the picture below left. I did flat-stitch the bodice seams because I figured the water would flow off easier if the coat was as flat as possible (right picture). I only did this for seams that I was afraid would catch and hold the water while being rubbed while walking. Rubbing the seams with water on them makes them take in water and makes you wet.
All right, so your pinning your pieces together in the seams and sewing like your used to. Keep trying out your coat to see if it fits, either on a doll or on yourself. If it's too small, you have to start over, sorry. It happened to me too, if it's any consolation :)


Below you can see the bodice which turned out just as I hoped. After that I spent quite a while fixing on the bottom half. As I said, I tried the tiered bottom first and it was a disaster! I'm sorry I don't have a picture of it, it looked awful hahaha. But after a few tries and a considerably shorter bodice I got the skirt-like bottom I wanted. To close the coat I used a plastic zipper. I really wanted one of those invisible zippers because it would have been just that, invisible, but I couldn't find one. Instead I used a pink zipper as an ornamental addition to the coat. I made sure the zipper was of good quality so it didn't leave holes when closed.

And here is the end result in use at Walt Disney World's Christmas Party. Where sadly it was pouring rain which made it the most expensive cocoa and cookies I've ever had :)


No comments:
Post a Comment