Have you ever looked at a
Pook-a-looz and thought: "Geez those are big!" as well as "That looks easy enough to make" ? Well you won't have to google it because I'll show you how.
Here's the original by Disney which I secretly would have loved to buy if they had sold them outside of the USA, which they do not...

And here's my version:

I put him next to a Wii remote just to show the size. He's quite tiny, but very cute. He did turn out a little less wide than I would have liked, meaning he's kinda skinny :) I changed this in the pattern, as well as making his legs a little shorter.
I have never actually held a real Pook in my hands because, like I said, they do not sell them anywhere except the USA, not even Canada where I had the fortune of being three months of this year. But looking at the
Disneystore.com page I found that they are made from stylized soft fleece, whatever that means. I decided to make mine from felt, because it's cheap, easy to work with and you don't have to buy it meters/yards at a time. The felt works well I think, but if you want to make this for a baby or small child I would recommend fleece as it's softer.
I sewed the entire thing by hand, which took a surprisingly short time. All in all I spent about 4 hours on Mickey, while watching television.
Making your Mickey
Needed:
- The pattern which you can print out below
- sheets of real woolfelt or pieces cuddle fleece, in colors: black, red, yellow, white
- needle and black thread (you will be hand sewing this)
- pins
- a printer
First you want to download and print the pattern:
2D Mickey Plushie pattern It's free, so feel free to spread it around but I would appreciate it if you mentioned my blog.
The pattern is pretty easy. You can cut out all the pieces on the black lines and transfer them straight to the pieces of felt, I already took seams into account. The green lines are just to show where the different pieces go so do not cut on these!
UPDATE: It is easier to cut out a full black body and sew the pants onto it. To do this: cut out the pants first (keep all the seams because they will need to be a little bigger to cover the body), then just paste the parts of the pattern together overlapping the GREEN lines and cut out a full body piece.

You will also need felt, one sheet of each color. I bought these at Michaels but you can get them at any store that sells craft stuff, like walmart. You will need the colors black, white, yellow and red.You might want to buy two pieces of black, just in case you mess up.
Update: I just learned from mmmcrafts (see links) that for plushies it's better to use real wool felt, not this synthetic stuff. When hugging the plush a lot it will shed and get pieces of fluff on it. Mmmcrafts can tell you where to buy these (see FAQ). You can also use cuddle fleece.
In the picture there's also pink because I'm planning on making a Minnie Mouse too, which I'll post when I have it.
Other needed supplies: Pins, a thin needle, a bit of plushie filling and sturdy black thread. I used thread for jeans because it's thicker and makes for a nice decorative seam.
So go ahead and cut out all your pieces. You will also need to cut a tail but I'll show you that later.

I assembled the pieces on another piece of felt. This way you don't lose anything and you know where everything goes.
Now take your needle and start sewing one side of Mickey (meaning either all the front or all the back pieces) together by whip stitch. (If you have no idea how to do this,
here is a great tutorial.) When joining these parts together I stitched back and forth as shown below to create a sturdier seam. You do not necessarily have to do this. After stitching together one half of Mickey, do the same with the other half. Leave the face, tail and buttons for later. Right now you should have two halves of Mickey that are mirror images of each other (though they'll look about the same).


Position the face, eyes and nose on one half of Mickey. When you are satisfied with the look, pin the nose and eyes on the face. Then stitch them on the face. I chose to do a decorative stitch because I think it looks cute but you can sew them on with a different stitch if you like. Beware though that if you used black thread for all the seams, you will see this after you turned mickey right side out and you'll have a decorative stitch along all the seams.

When you stitched on the nose and eyes, stitch the entire face on the head (beware you stitch it on the right side! You don't want to turn Mickey later, to find that the face is now on the inside of your plushie.)
Sew the buttons on the pants in the same way and on the same half of Mickey that also has a face.
Now you'll need to make a tail. This is really easy. Just cut out a long stumped triangle and sew it on the pants of the other half of Mickey. For a tail example see the picture below. I didn't put this in the pattern because you might want to make the tail smaller or bigger or wider or thinner, whatever meets your fancy. You can also stitch it on differently, pointing down or up, or diagonal. I kind of liked being able to see a piece of the tail from the front.


So now your Mickey is almost done except that he's laying in two pieces. Whip stitch these right side together with just one row of stitching (so do not go back and forth here) but leave one side of the pants open for turning.
Carefully turn Mickey right side out, taking care to shape his hands, shoes and especially his ears. The one row of stitching should be visible making it a nice decorative stitching. I think it looks really cute when it's not perfect stitching but again, that's up to you.
The only thing left to do now is fill Mickey with some fluff. Be careful not to fill him too much, because then he won't be 2D anymore. You'll want to keep him kind of flat. When you are satisfied close the pants seam with whip stitch. When you're done you can use a pin to push the felt under the stitches towards the inside so it will look the same as the other seams.


All done! Yay!
Did you make a Mickey? How did you do? I would love to hear about it!
Update: My niece really loved this Mickey. She carried it around Disney World for an entire day (until her mommy bought her a minnie mouse plush...:) )


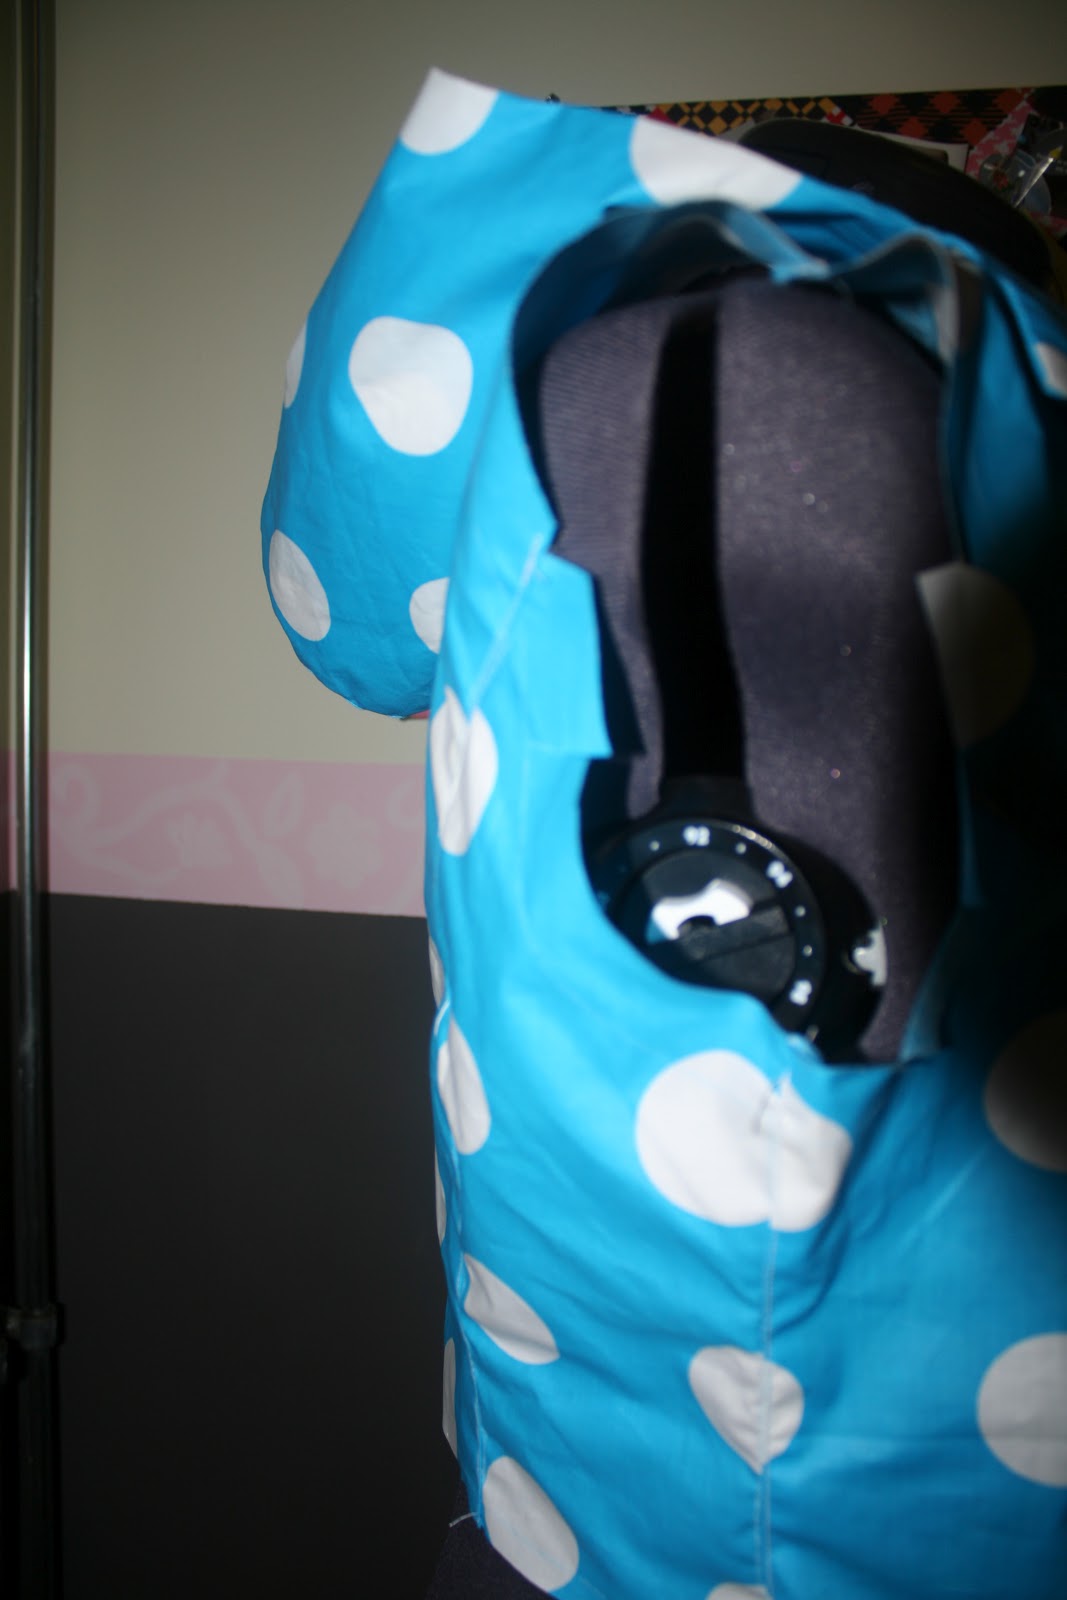
 First find a coat pattern you are familiar with to use. I took the pattern for this coat which I already made twice. It's very important to take a pattern you know because you do not want to make a mistake while making a raincoat. It leaves a nice row of holes which do not vanish as you can see in the picture below and you want to keep the amount of holes to a minimum in a raincoat! Also, when choosing your pattern, try to keep the pieces it consists of to a minimum and no tiers. The fabric is very sturdy so it doesn't hang down the way other fabric
does. This is especially important to note when you're thinking about
making a tiered bottom like me. THAT DOES NOT WORK!! It will look weird,
trust me I tried it! To make a skirt like bottom for your coat, just
take one piece of fabric and make flat pleats. Because the fabric is so
sturdy it will poof out with just a few.
First find a coat pattern you are familiar with to use. I took the pattern for this coat which I already made twice. It's very important to take a pattern you know because you do not want to make a mistake while making a raincoat. It leaves a nice row of holes which do not vanish as you can see in the picture below and you want to keep the amount of holes to a minimum in a raincoat! Also, when choosing your pattern, try to keep the pieces it consists of to a minimum and no tiers. The fabric is very sturdy so it doesn't hang down the way other fabric
does. This is especially important to note when you're thinking about
making a tiered bottom like me. THAT DOES NOT WORK!! It will look weird,
trust me I tried it! To make a skirt like bottom for your coat, just
take one piece of fabric and make flat pleats. Because the fabric is so
sturdy it will poof out with just a few.


 To make the seams extra sturdy but not have a row of stitches on the outside of the coat, I double stitched all seams like you can see in the picture below left. I did flat-stitch the bodice seams because I figured the water would flow off easier if the coat was as flat as possible (right picture). I only did this for seams that I was afraid would catch and hold the water while being rubbed while walking. Rubbing the seams with water on them makes them take in water and makes you wet.


 You will also need felt, one sheet of each color. I bought these at Michaels but you can get them at any store that sells craft stuff, like walmart. You will need the colors black, white, yellow and red.You might want to buy two pieces of black, just in case you mess up.
 I assembled the pieces on another piece of felt. This way you don't lose anything and you know where everything goes.
 Position the face, eyes and nose on one half of Mickey. When you are satisfied with the look, pin the nose and eyes on the face. Then stitch them on the face. I chose to do a decorative stitch because I think it looks cute but you can sew them on with a different stitch if you like. Beware though that if you used black thread for all the seams, you will see this after you turned mickey right side out and you'll have a decorative stitch along all the seams.
 When you stitched on the nose and eyes, stitch the entire face on the head (beware you stitch it on the right side! You don't want to turn Mickey later, to find that the face is now on the inside of your plushie.)


